
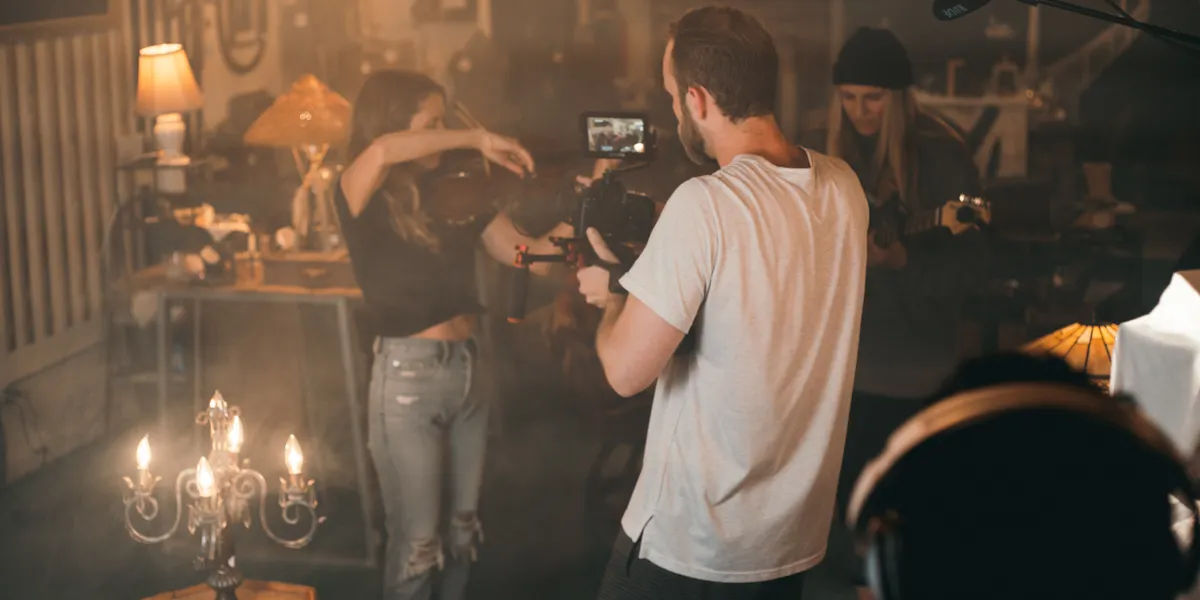
Plan the shoot before you roll
Preparation is not paperwork for its own sake; it is the only thing that buys you time on the day. A shot list is the centre of it. Go through the script or the outline scene by scene and write down every setup you need — the size of the frame, roughly where the camera sits, and what the shot is for. Twenty specific lines are worth more than a mood board, because at four in the afternoon, when the light has turned and everyone is tired, a list tells you what you can still drop and what you cannot.
Visit the location before the shoot if you possibly can, at the same hour you intend to film. A recce answers questions that will otherwise ambush you: which way the windows face, where the power outlets are, whether the room hums with a fridge or an air conditioner, how loud the street gets, and whether you can actually fit a tripod behind the sofa. Stand where you think the camera will go. Ten minutes there saves an hour on the day.
Then write a call sheet, even for four people. It needs the address, the time you want everyone on set rather than the time you want them to leave home, a phone number, what to bring, and a rough order of scenes. Sending it the night before removes an entire category of morning chaos. All of it is one habit: deciding in the calm what you would otherwise decide badly under pressure.
Camera fundamentals that actually matter
Three controls set your exposure and they trade against each other. The aperture, written as an f-number, controls how much light the lens lets through and how deep the zone of sharpness is — a wide aperture such as f/2 gives a bright image and a shallow slice of focus, while f/8 gives a darker image and much more of the scene sharp. ISO sets the sensor's sensitivity: raise it and you get a brighter picture with more noise. Shutter speed controls how long each frame is exposed.
Shutter speed is where moving pictures part company with stills. The convention borrowed from film cameras is a 180-degree shutter angle, which means a shutter speed of roughly twice your frame rate — 1/50th of a second at 24 or 25 frames per second, 1/100th at 50. Hold that, and motion carries the amount of blur an audience reads as normal. Stray far from it and the picture starts to look either stuttery or smeared. So when a shot is too bright, change the aperture or add a neutral-density filter rather than raising the shutter.
Focal length and what it does to a face
Lens choice is not just about how much fits in the frame; it changes the shape of the person in it. A wide lens brought close to someone pushes the nose forward and stretches the sides of the face, which reads as intense, unstable, comic or aggressive depending on context. A longer lens used from further back flattens those relationships, separates the subject from the background and is generally kinder to a face.
A useful default for dialogue sits in the short-telephoto range — roughly 50mm to 85mm on a full-frame sensor — with the camera far enough back to be comfortable. Save the wide lens for the moment you actually want that distortion.
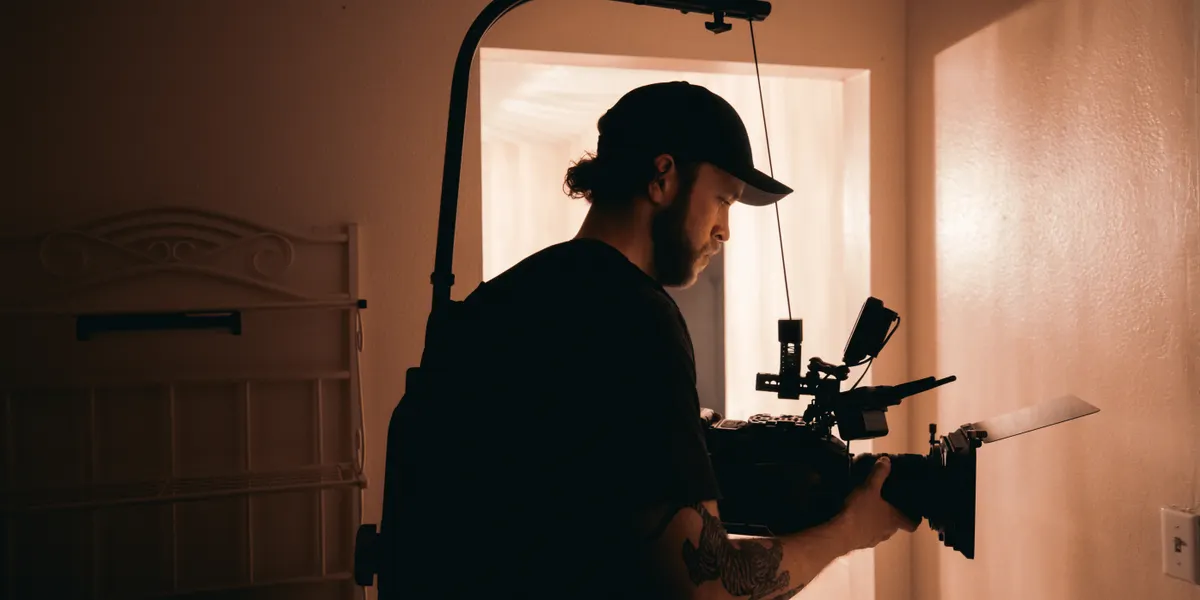
Composition: where people sit in the frame
Headroom is the gap between the top of someone's head and the top of the frame. Too much of it and the person sinks to the bottom of the picture, weightless and accidental. Too little and the shot feels claustrophobic — occasionally useful, rarely by accident. As a working habit, keep the subject's eyes on roughly the upper third of the frame and headroom mostly takes care of itself.
Lead room is the same idea turned sideways. When someone is looking or moving towards one side, leave more space in front of them than behind. A profile pressed against the edge of frame it is facing looks blocked in; the same profile with space ahead of it looks like it is going somewhere.
The line, and why it keeps people in the right place
In any scene with two people, imagine a straight line running between them. Keep the camera on one side of it. Do that, and the person on the left of frame stays on the left in every shot, and their eyelines point at each other. Cross the line without a good reason and the two of them suddenly appear to face the same direction, which reads to an audience as confusion long before anyone can explain why.
Eyeline matches are the smaller version of the same discipline. When you shoot the reverse of a conversation, the second person's gaze should be angled to meet where the first person actually was — same height, same side. Have someone stand off-camera at the right spot for the actor to look at. It costs nothing and it is instantly obvious when it is missing.
Lighting with whatever you have
The classic arrangement uses three positions, and it is worth learning as a way of thinking rather than a recipe. The key is the main source, placed off to one side of the camera and usually a little above eye level, and it is the light that describes the face. The fill sits on the opposite side and lifts the shadow the key leaves, controlling how dramatic the shot feels — a bounce card or a white wall does this as well as a second lamp. The backlight goes behind the subject, edging the hair and shoulders so they lift away from the background.
Hard and soft matters more than bright. A small source relative to the subject — a bare bulb, a phone torch, direct sun — gives hard light with sharp-edged shadows and strong texture. Make that source physically larger and the shadows soften: bounce it off a ceiling or a wall, push it through a diffusion sheet, a shower curtain or a bedsheet. Soft light is flattering and forgiving; hard light is dramatic and unforgiving. Choose on purpose.
Window light is a free soft box
A large window on the shaded side of a building is one of the best sources you will ever use. Put your subject a couple of feet back from it, turn them slightly towards it, and place a white board on the far side to fill. Avoid mixing it with warm indoor bulbs in the same frame, which leaves half a face orange and half of it blue: turn the practicals off, or commit to one source and let the other go.
Sound is the half everyone neglects
Audiences forgive a soft image far more readily than they forgive dialogue they have to strain at. Bad sound is also the one problem you genuinely cannot fix afterwards. The single largest improvement available to you is free: get the microphone closer. Distance is what lets a room's reflections compete with the voice, so a microphone a foot above the actor's head, angled down and just out of frame, will beat any amount of processing applied to a camera mic across the room.
If a boom is not practical, a small lavalier clipped under a collar gets you most of the way, as long as fabric is not brushing it. Whatever you use, monitor on headphones while you roll — not afterwards. Clothing rustle, a plane, a distant leaf blower and a rumbling fridge are all obvious the moment you actually listen, and all of them are cheap to fix in the room and expensive to fix later.
Record room tone before you leave. Thirty to sixty seconds of everyone standing perfectly still in the location, with the camera and recorder running. It sounds like nothing. It is what an editor lays underneath cuts and pauses so the silence between lines matches the silence inside them, and it is the single most-forgotten item on any wrap list.
Set your levels so ordinary speech peaks somewhere around minus twelve decibels, leaving room for a shout without clipping. A clipped recording is unrecoverable in a way a quiet one is not. And if you record sound separately from picture, give yourself a clap at the head of every take — it takes a second and it turns synchronisation from guesswork into a single visible spike on a waveform.
Moving the camera — and when not to
A move should have a reason that an audience can feel without naming it. Pushing slowly towards a face tightens attention as something dawns on a character. Pulling back reveals context and usually deflates. Following alongside a walking figure keeps you with them; craning up at the end of a scene lets you leave. Movement that has no such job is just visible technique.
The most underrated shot in a first film is the locked-off one. A still frame lets the performance carry the scene, cuts cleanly against anything, and never asks the audience to notice the camera. If you are unsure whether a move helps, shoot it still. You will not regret the coverage.
Getting a move to look intentional
Whatever the tool — tripod head, slider, gimbal or your own two feet — the difference between a move that works and one that wobbles is almost always the start and the end. Begin the take with the camera settled and still for a beat, make the move, then settle and hold for another beat. Those handles give an editor somewhere to cut, and they stop a shot from feeling like it was grabbed.
Handheld is a choice rather than a fallback, but it needs commitment. Brace the camera against your body, keep both elbows in, and walk heel-to-toe with soft knees. A steady human float reads as immediacy; a drifting wobble reads as a mistake.
Shoot for the edit, not for the take
Everything you shoot is raw material for a version of the scene that does not exist yet. Coverage is the practice of giving that future version options. In its simplest form: a wide shot that establishes who is where, a clean single of each person speaking, and something in between. Shoot each setup through the whole scene rather than only the lines that character speaks, so you have reactions to cut to.
Cutaways are the cheapest insurance in filmmaking. Hands on a cup, a clock, a door, someone listening — each is a place to hide a jump, compress time or fix a fluffed line, and each takes two minutes to grab.
Continuity, kept lightly
Continuity is just the promise that the world stays consistent across cuts. Which hand held the glass, how full it was, which way the jacket was buttoned. Take a phone photograph at the end of each setup before anything moves, and note roughly where the action fell. You do not need a script supervisor; you need a record and about thirty seconds of attention.
Finally, roll a little before the action starts and hold a little after it finishes. Those few seconds at each end are handles, and every editor — including the one who is about to be you — will be grateful for them.